When putting together a PDF document set, it can be time consuming especially when the PDF’s have come from different sources. For this Click Saver I’m going to assume that you have worked with the File -> Combine tool to get all of the different PDF’s into one combined PDF.
Use the Thumbnails tool to see if certain pages are out of order and the page naming is not going to work.
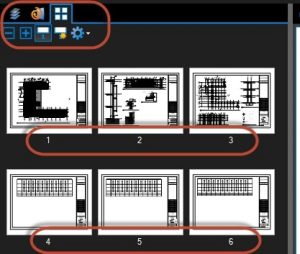
By the way, if you don’t have the Thumbnails tool showing on the right panel just right-click on the black bar and use the Show option to turn it on.
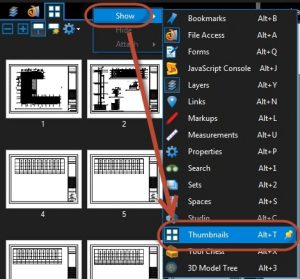
On the Thumbnails bar is where you will find the page Labels tool.

With the Page Labels tool open we are going to use the Page Region option to select a portion of the PDF so Bluebeam can pick up the text to help us name the page.
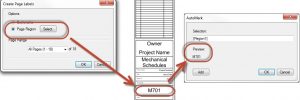
How awesome is that! We are not done yet because I also want to pick up the name of the sheet. To do that we are going to use the Add button to add a new region. Before doing that I’m also going to add spacebar and dash with another spacebar to separate the naming.
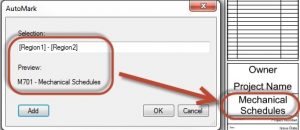
Not too bad, now I just need today’s date so I will manually do that but if you had that somewhere on the PDF you could build another region.
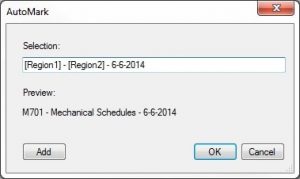
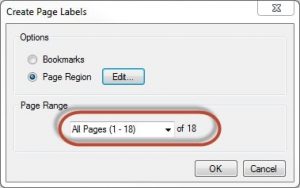
At this point I’m good to go so I will pick Ok for the next step. The last step is telling Bluebeam the Page Range in this case I want to do the entire set.
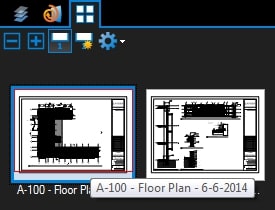
You will now notice that the Thumbnails show the new names and look much better than 5 minutes ago, without the process being too painful.
One last thing to show is creating Bookmarks for all pages. This way, if someone needs to do a search, they can find a certain page very quickly. If you don’t have the Bookmarks tool on the right panel right-click like before to turn it on.
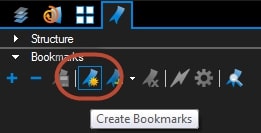
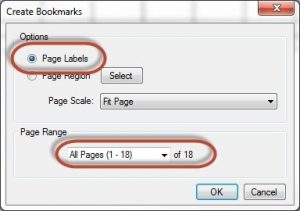
Pick on the Create Bookmark tool and use the default Page Labels option to create the bookmarks. Select the range and pick Ok to finish.
Hope this helps in taking advantage of some of the great tools in Bluebeam.
See you in class or at your office, Jarod