
Twinmotion is a fast and easy-to-use visualization tool, allowing you to quickly take an Autodesk Revit model and view it in a real-time game engine. Twinmotion, however, does not currently bring along your lighting fixtures – leaving empty spots on walls and holes in your ceilings.
Figure 1 - Revit model in Twinmotion with no light fixtures
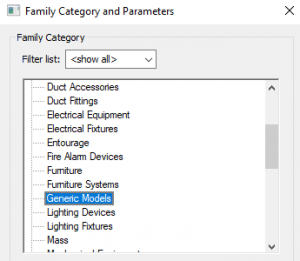
There is a quick work around which allows you to import the geometry of your light fixtures. Twinmotion will still not import the light source itself but those can be placed manually or you can use the Replace tool to swap the existing geometry for geometry with the source.
With a few easy steps, you can get your fixtures changed over and bring their geometry into Twinmotion.
NOTE: Don’t save your families or project when done to avoid corrupting your files.
Figure 2 - Revit model in Twinmotion with light fixtures

