
MG recently hosted the Bluebeam® Startup Workshop, a four-part webinar series that prepares you to successfully deploy the Bluebeam software and custom content across your organization. We covered the steps necessary to ensure users have access to standard preferences, custom markups, and other custom content. Below is a recap of this workshop series.
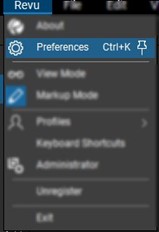
Under the Revu menu tab > Preferences, we can customize Bluebeam Revu® settings. Each section is broken into different tabs in the preferences window, as shown below.
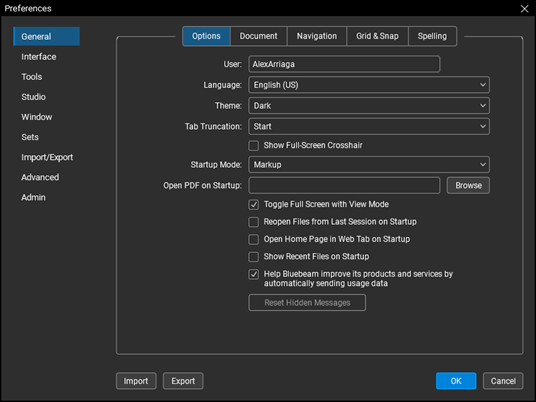
Some of the most common changes I see here include:
Once your settings have been optimized as desired, you can export these settings out as a .XML file. Save this file in a location where you can use it in the configuration editor.
Revu allows us to create custom profiles, markups, line styles, and hatch patterns. In this session, we looked at what Revu Profiles manage in the software. The user interface can be as simple or as complex as you like. You can also combine markup types to create custom markups, different line styles, and new hatch patterns.
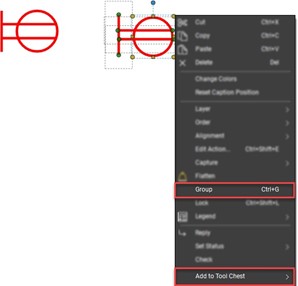
The simplest and most popular method to create a new markup is to apply more than one markup type, select all parts, right-click, and select "Group." This will combine all types into a single markup. To create a new symbol, right-click again to add to a tool set and create your own standard markups.
NOTE: The subject is the most powerful setting that you can change.
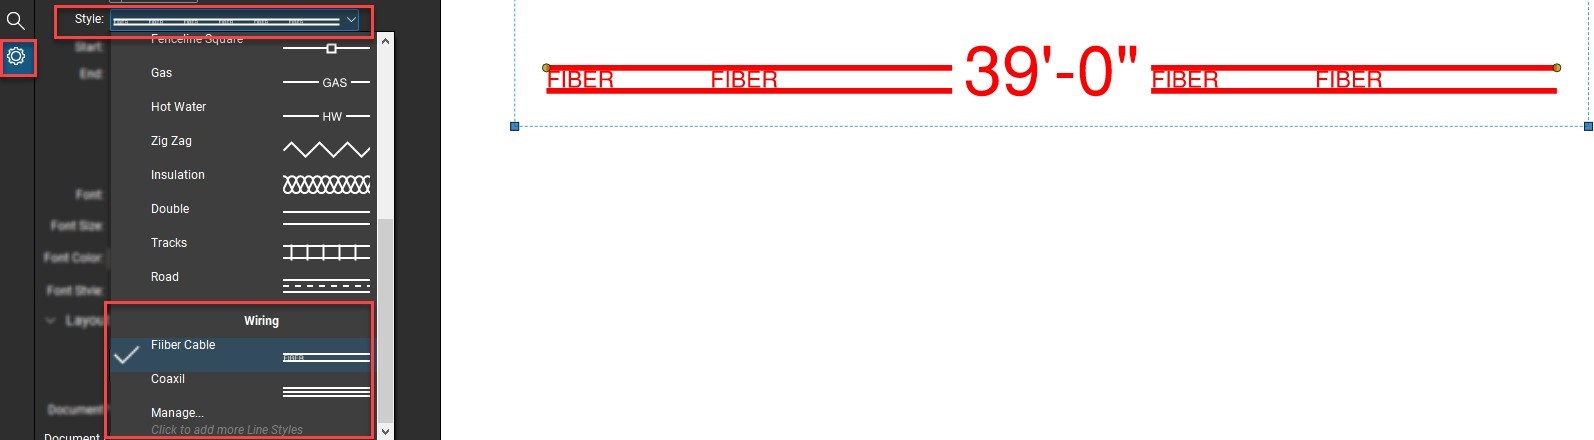
If you navigate to the Properties panel > Style Setting, you'll see that you can assign a custom line style to a line. Create a new category and line style by selecting the Manage option on the bottom. Above, we see the fiber line style that we created in the webinar.
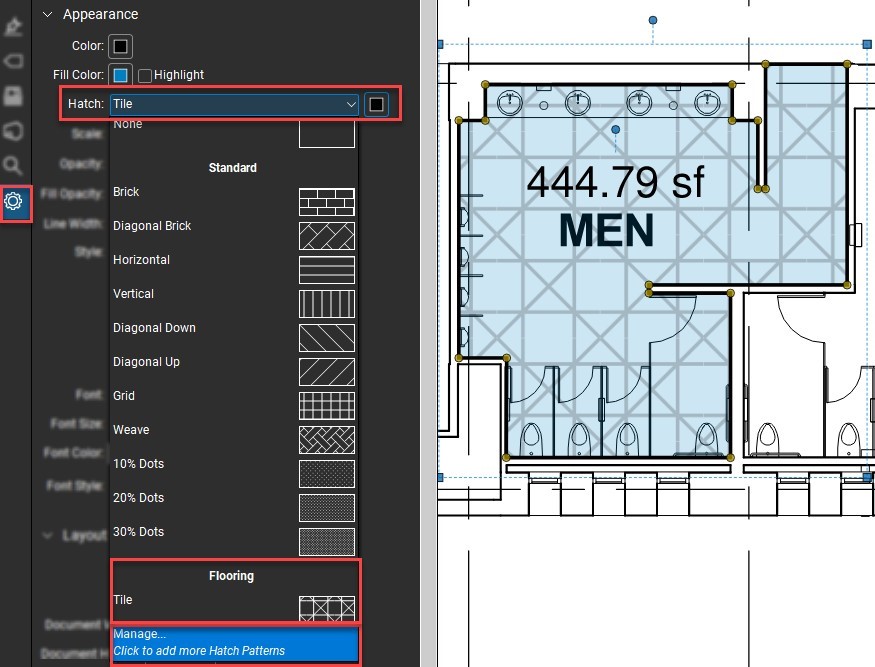
We can apply the same process when creating a new hatch pattern. For example, apply an area tool and select the hatch pattern option. From here, select the manage location to create your own hatch pattern.
Below, we see the tile hatch pattern we made in the webinar.
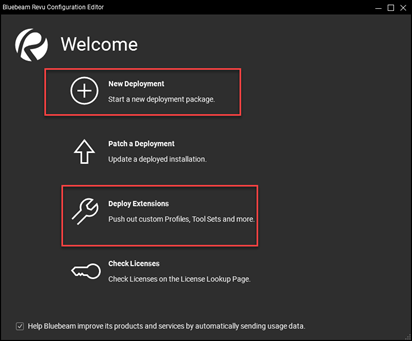
In this session, I demonstrated how you can take advantage of the Configuration Editor tool that allows you to easily configure scripts and share standards across your entire organization.
Once you've created all this custom content, you can easily deploy the software. Let's take a look at the easy-to-use interface within Bluebeam Revu that makes it seamless for admins to toggle settings on or off without manually entering the commands into the deployment command line. This new tool allows users to customize and create command lines specific to their organization's standards.
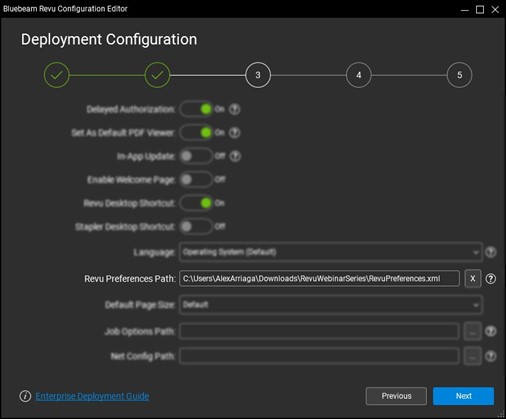
Notice the two sections highlighted above. One is used to create the deployment MST and script. The second is to deploy extensions (custom profiles, line styles, and hatch patterns).
We can apply the preferences and settings we created in Session 1 (the XML file) when creating a New Deployment.
Once Revu has been deployed and standards have been applied across our organization, we can take advantage of the collaboration capabilities within Bluebeam. Studio® can be understood in two parts: Studio Projects and Studio Sessions.
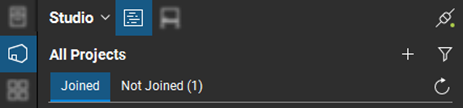
Studio Projects - Document management system that allows you to manage pertinent documents for specific projects. Limitation below:
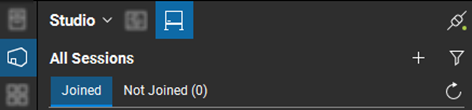
Studio Sessions - The real-time collaboration portion. This allows users to collaborate on files together simultaneously, regardless of location. Users connected to Studio can virtually collaborate with one another. Users can also participate in View Mode of Revu. Limitation below:
Try Bluebeam Revu today. Download your free, 30-day trial here.

Alex Arriaga is a Bluebeam Design Technology Specialist at MG AEC Technology Partners. Alex is a Bluebeam Certified Instructor, Bluebeam Certified Support Representative and a member of the Denver Bluebeam User Group. He works with organizations and individuals in furthering their workflows with and knowledge of Bluebeam Revu.
![]()
Bluebeam Revu, Studio, and Revu are registered trademarks of Bluebeam, Inc., used under license.

