
By Jarod Schultz, Director of Autodesk Services
In this click saver I would like to present a new feature in Revit that is highly desired but we have not had until 2014 release. With 2014 we now have the ability to do odd shaped viewports, ironically what I’m finding is clients are forgetting about this feature. Why? I think it is because we have all been accustomed to how we couldn’t previously do this in Revit.
It is not hard to start using this feature- in one of your plan views or maybe one of your elevation views you just need to turn ON your Crop Region in your Status Bar.
![]()
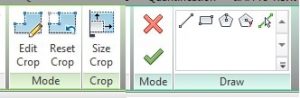
Once you have done this, select the Crop Region and notice the Ribbon, you now have Edit Crop Region. Once you select this it will go into the normal Draw Panel and you can create the boundary to your liking.
Notice the Arc or Circle tool is not available but you can use multiple line segments or better yet use the Polygon tool and set the number of sides to 36 to create the round shape.
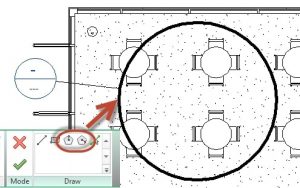
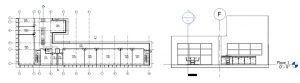
In this example I am using the Callout tool and using the Polygon trick to create the enlarged plan view.
Don’t forget to use this tool on your Interior Elevations. This has always been a limitation in Revit but now you can very easily go up around items to crop the interior elevation exactly how you want to view it.
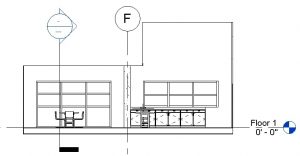
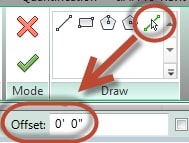
When using this feature on interior elevations don’t forget to use the Pick Lines tool to help trace the existing edges. When using this tool I also like to use the Offset option, this way I can get a small offset with the border from the original edge.
The fun part on all of this is remembering that you now have odd shaped viewports in Revit. Though I’m not sure why it took Autodesk so long to get here I am happy that the time has finally arrived. See you in class or at your office, Jarod

