
You may have some data that needs reporting but does not have a default column, and this is where custom columns in Bluebeam Revu® come into the process.
You can add a specific number, text, date to a markup for reporting. Advance your markups list with choice options and formulas to calculate. Let's take a look at the custom column options below.

Select the "Markups List" drop-down. Select Columns > Manage Columns.
A new window will display where we can select the custom column tab to see what columns are currently active.
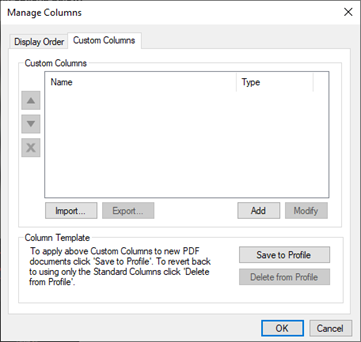
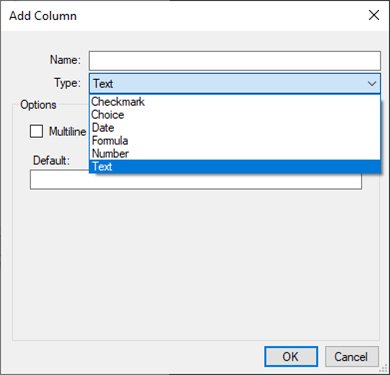
Select the Add option to create a new column. From here, we see the listed custom column types we can create.
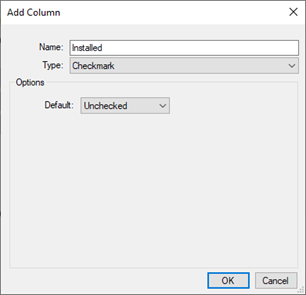
This column allows users to place a checkmark in a check box to confirm if something has been completed or not.

Example:
An example of a custom checkmark column would be to confirm whether an action has been completed with a checkmark.
The choice column allows users to add items to a list to create a drop-down to choose from. We can link choices by the subject of the markups.
Example:
An example of this would be to create a responsibility column to assign specific people to a markup depending on the subject of a markup.
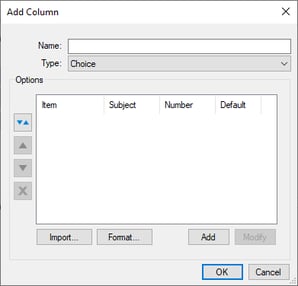
Select the Add option to add choices.

Add the option and the subject the choice is related to. In this example, James is an architect we're working with.
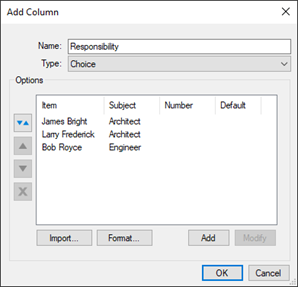
Once we have our choice options populated, we can see the different options we have listed.
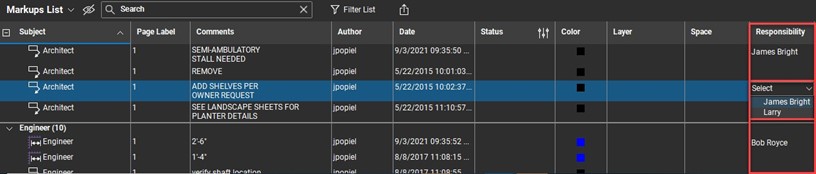
We can then assign markups to the listed users and choose who is responsible for what in our project.
The date column allows us to apply a date variable to the markups list.
Example:
An example of this column would be to list an important date for a markup.
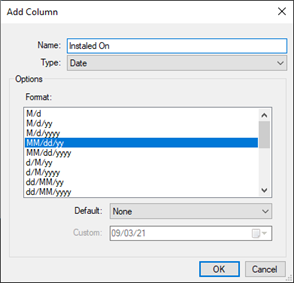
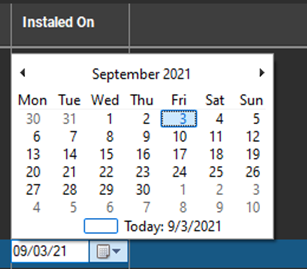
Choose the name of the column and the format that the date will be displayed. Apply the date to a markup with the calendar window.
Formula columns work in conjunction with Revu's built-in measurement tools. The most efficient way to use the formula column is with a choice option. Revu allows us to use built-in variables to calculate any custom number.
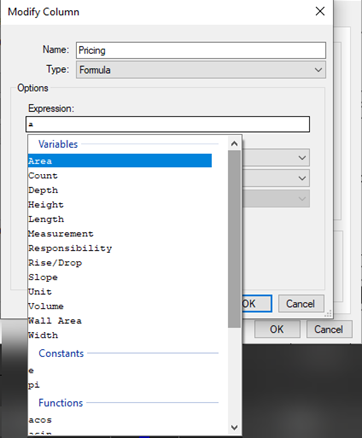
Give the column a title, then type the formula out in the expression text box. Do note that the expression will follow the PEMDAS rules.
The number column allows us to enter a numeric value in the column.

In the number column, we can add a numeric value. We can format the numbers as a percentage, currency, or standard numbers.
Example:
In this example, we see currency being applied for pricing.
The text custom column allows us to type in any text type into the column.
Example:
An example would be assigning someone responsibility to a markup or adding additional notes. This is very similar to the choice option we saw above.
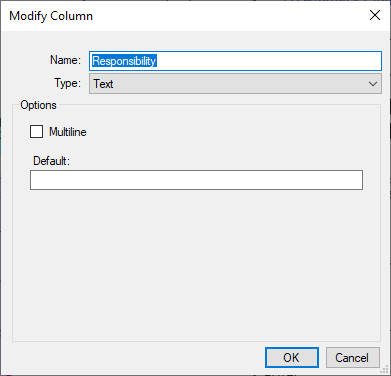
Give the column a title and choose if it is a multi-line text box. Users can also enter a default value.


Alex Arriaga is a Bluebeam Design Technology Specialist at MG AEC Technology Partners. Alex is a Bluebeam Certified Instructor, Bluebeam Certified Support Representative and a member of the Denver Bluebeam User Group. He works with organizations and individuals in furthering their workflows with and knowledge of Bluebeam Revu..png?width=1441&name=Bluebeam%20Platinum%20Partner%20(1441x312).png)
Bluebeam, Revu, and Studio are registered trademarks of Bluebeam, Inc., used under license.

