There are multiple options when it comes to creating a signature stamp with a transparent background within Bluebeam Revu®. In this post we will walk through how to create one implementing three different signature options.
To start, create a new document. In this example I am using a 4″x1″ page – as it will be easier to work in a smaller sheet.

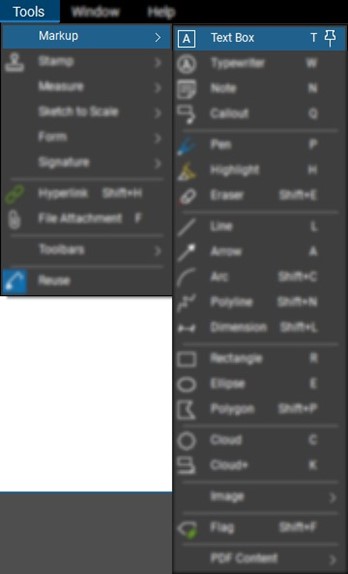
The first option for creating a signature stamp is using the text tools. To do so, navigate to the “Tools” menu bar. Hover over “Markup” and select “Text Box”. This will allow you to place a text box and type your name.
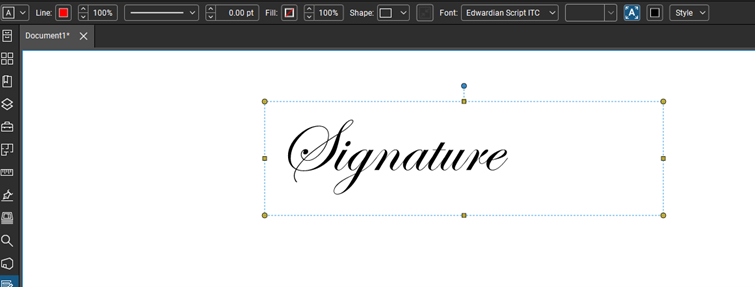
From there, we can customize the signature with hand-written fonts.
The second option is using the Pen tool within Revu. The Pen tool allows for users with a tablet to draw/write digitally onto a document. Only use this option if you have a tablet and stylus. (**Using your mouse is not recommended for this option.)
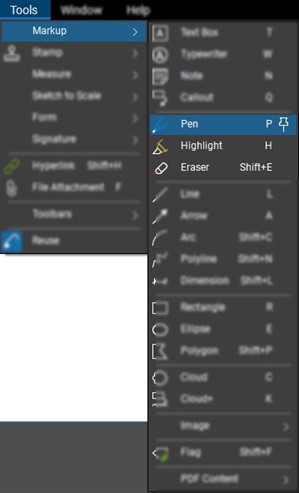
Navigate to the “Tools” drop-down within the menu bar. Hover over “Markup” and select the “Pen” tool. Once you have your pen tool out, you can begin writing.
Note: The “Eraser” can be used to remove any unwanted lines that were drawn.
With the Pen tool you can write directly on the screen. The example below shows how the Pen tool can be used to transfer your physical signature to digital.

The third option involves taking a picture of your physical signature and converting it digitally using Bluebeam Revu. For this option you will need to take a picture of your signature and transfer it onto your computer.
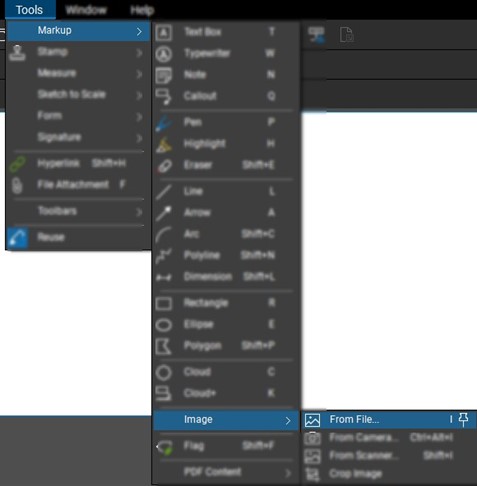
Once you have saved the picture on your computer, navigate to the “Tools” option on the menu bar. Select “Markup”, “Image” and “From File”. From the files pop-up, select the picture file of your signature.
Once you have selected the image of your signature, the photo will be placed on your page.
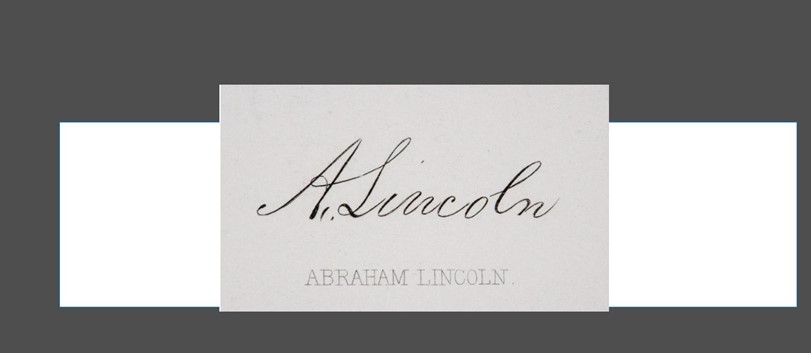
You are then able to crop the image for only the pertinent contents by right clicking on the image and selecting “Crop Image”.

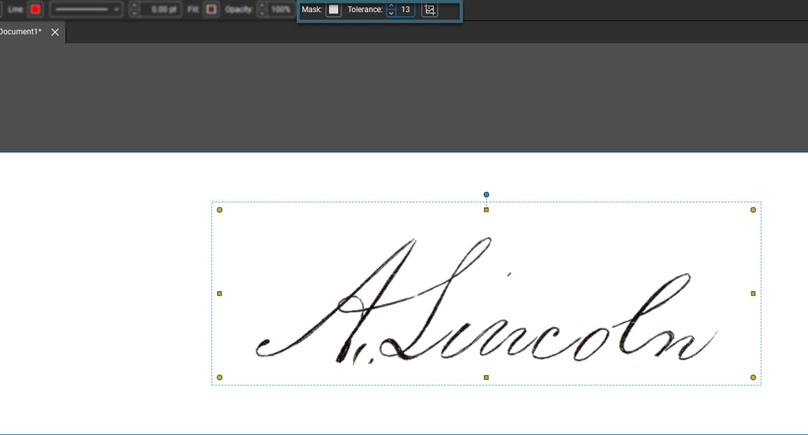
Once the image is placed on you page, you are then able to remove/mask the background. To do so, click on the image. This will display your “Properties Toolbar”. Select the “Mask” option. This allows you to select a color from the image to mask by selecting the dropper icon from the drop-down display.
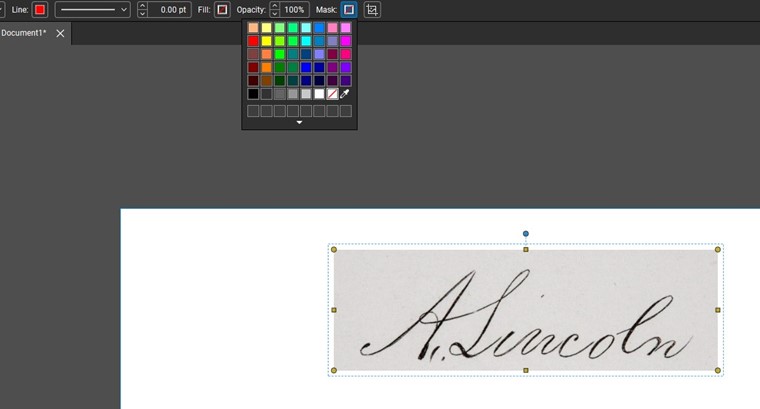
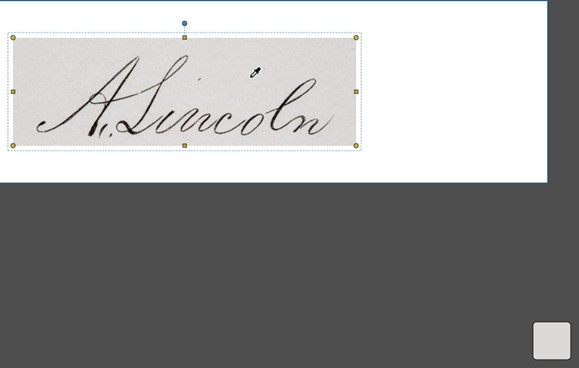
With the dropper, select the image’s background. A thumbnail in the lower right will display the color – helping ensure the right color is selected.
From the “Properties Toolbar”, increase the tolerance option until the background disappears.
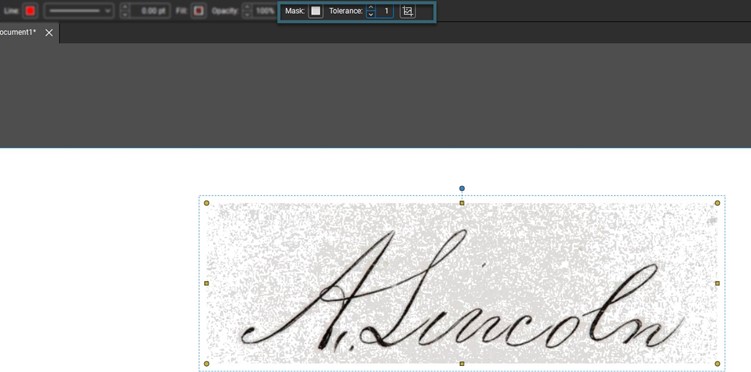
In the provided example the tolerance was increased to 13 in order to remove the background – leaving only the signature:
Now that we have our signature ready, we can apply it to a stamp for future use. Navigate to the “Tools” option on the menu bar. From the drop-down go to “Stamp” and “Create Stamp…”.
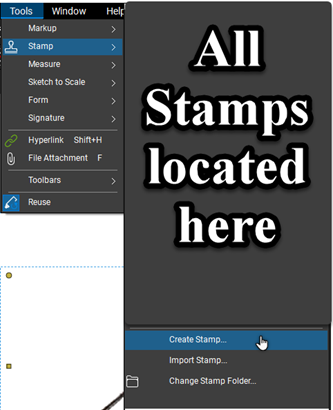
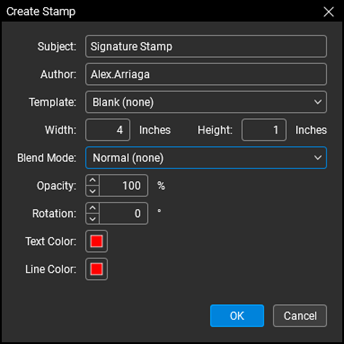
From the pop-up, name your stamp and edit the additional properties.
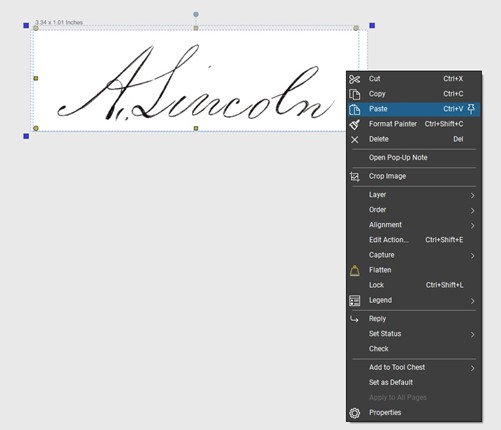
After selecting “OK”, a new stamp document is been created. Go to your signature document, right click signature and select copy. Return to the stamp document and paste the signature into the stamp by right clicking within the white area and selecting paste.
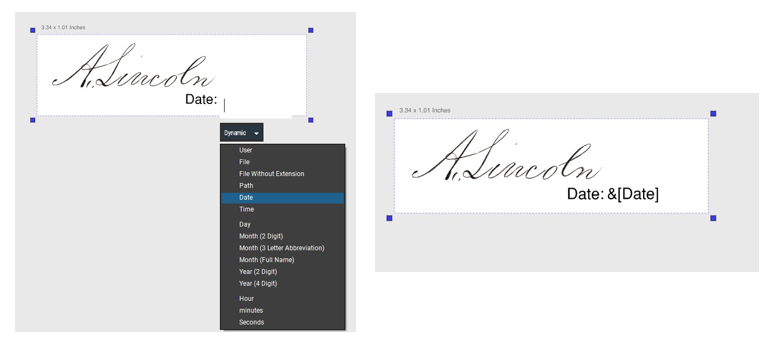
Additional markup options can then be added to the stamp to provide additional context. In the example below are two added text boxes – one static and the other dynamic. The date text box adds accountability for when a document was signed. Once your stamp is complete, save your signature stamp.
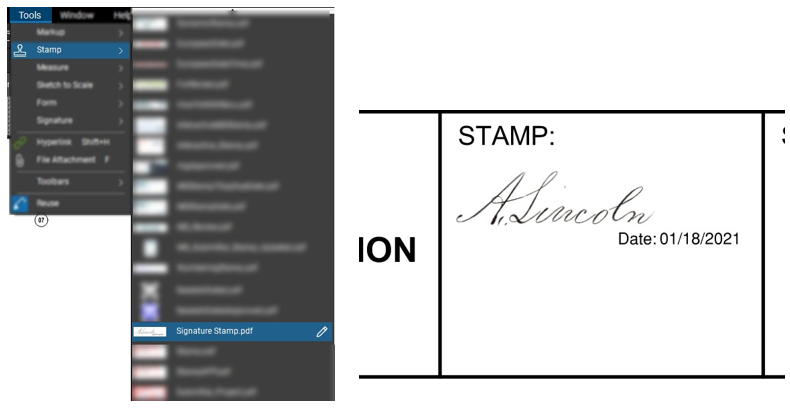
You now have a stamp that can be applied to pages digitally. To access to to Tools > Stamp and select your newly created signature stamp.
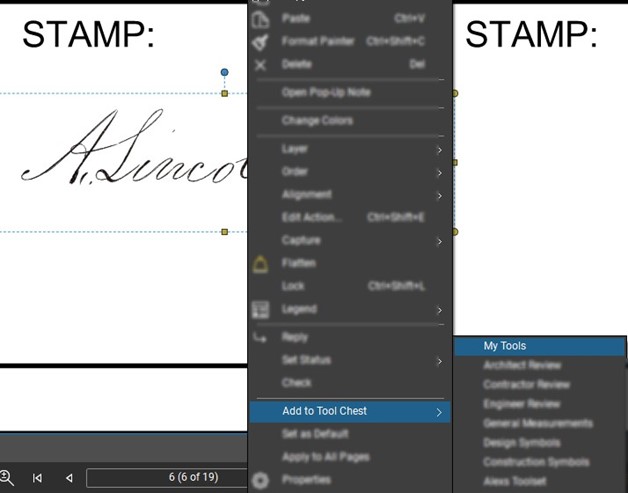
For future use, you can add this stamp to your Tool Chest. Right click the applied stamp and select “Add to Tool Chest” to save it to your most used toolset.
Download your free trial of Revu here.

Alex Arriaga is a Bluebeam Design Technology Specialist at MG AEC Technology Partners. Alex is a Bluebeam Certified Instructor, Bluebeam Certified Support Representative and a member of the Denver Bluebeam User Group. He works with organizations and individuals in furthering their workflows with and knowledge of Bluebeam Revu.

Bluebeam Revu is a registered trademarks of Bluebeam, Inc., used under license.