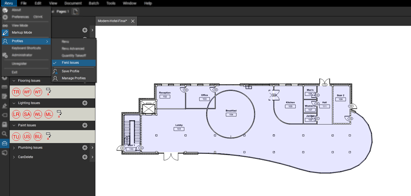
Bluebeam Revu® profiles are a way to customize your interface and toolsets. Start by selecting or creating a “Field Issues” profile. If curious on how to make a new profile, watch our video here.
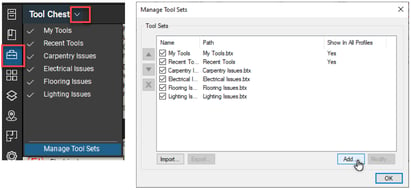
In the below example, we have a few tool sets already established — but we want to build a new one. Start by selecting the tool set panel > “Tool Chest” dropdown > “Manage Tool Sets”. Once you have clicked “Manage Tool Sets”, a pop-up window will display your current tool sets with the option to “Add…” another.
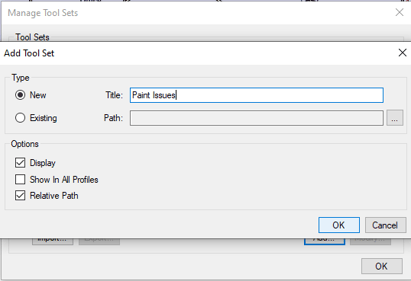
In this example, we will set up a new tool set for painting issues. Under type select “New” and give the tool set a name.
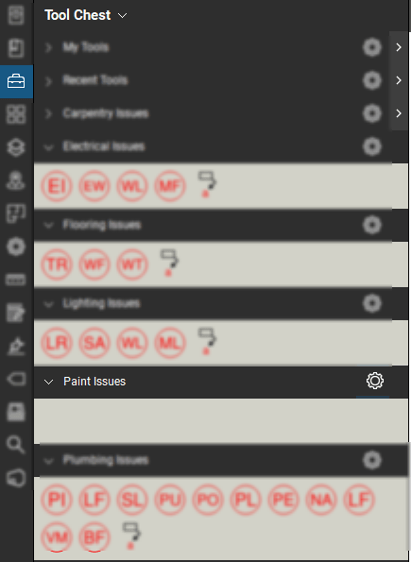
Once we have our “Paint Issues” tool set, we can start using it to populate custom markups for painting issues.
Let’s start by applying the “Ellipse” markup to establish the base of our custom one. Next, we will apply a text box onto the same page. This will allow us to change abbreviation for our field issue.
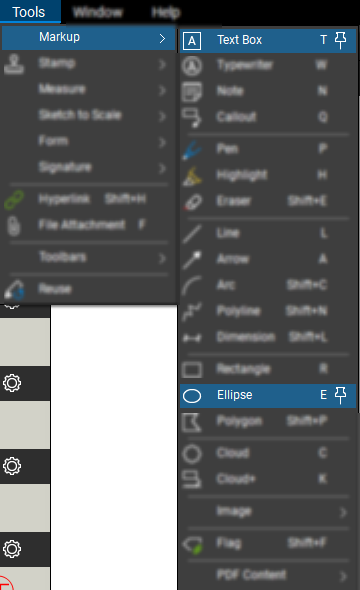
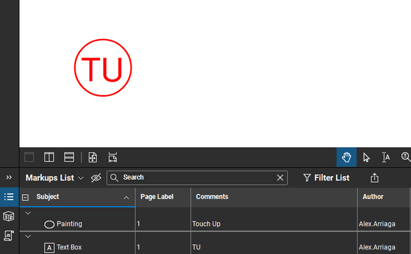
Double-click in the comments column to add text/comments to the markups generating the metadata to help organize our markups. Also, make sure to give our ellipse an issue type (i.e “Painting”).
Once each part has the proper comments and subject, we can group them together to form one markup. Do note the order at which a markup is grouped matters.
1) Begin by selecting the ellipse from the markups list
2) On your keyboard, hold down CTRL while clicking the text box on the markups list
3) Right click one of parts in the markups list and choose “Group”
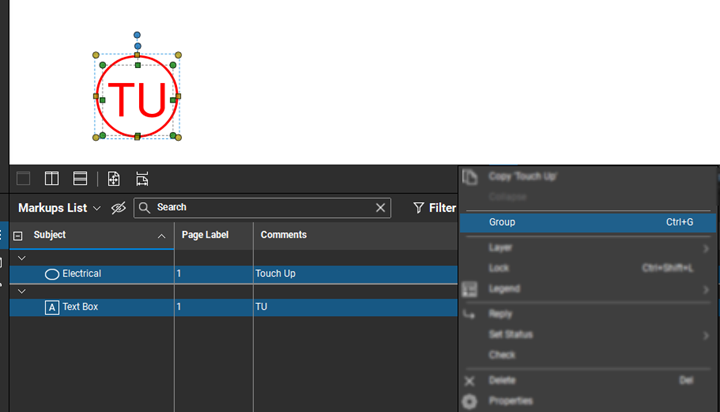
If done correctly, the comment of the ellipse will be what is carried over to this grouped markup (as it was the item that was selected first during the previous step). This is a benefit when we take a look at “Symbol Mode markups”.
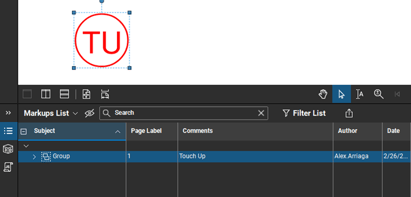
When the new markup is complete, right-click it and select “Add to Tool Chest” from menu options. From their pick the desired tool chest (in this example it is our newly created paint issues set). We will then see our touch up painting issue listed in our tool set.
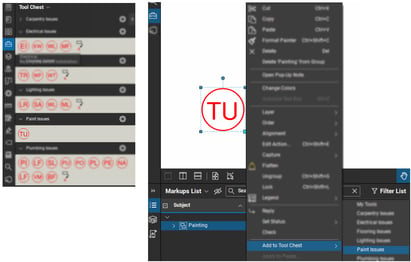
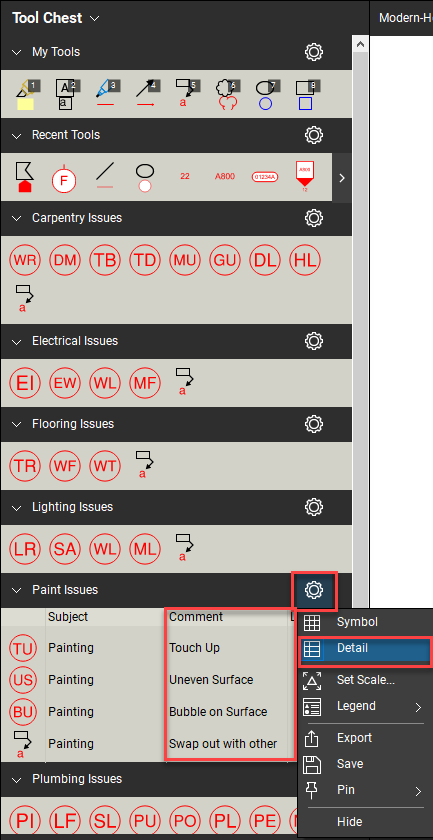
We can now create the rest of our custom issue markups and see them in within the painting issues tool set. If you wish to see what a markup represents, you can turn your tool set to “detail mode” by right-clicking the gear icon. This gives you a view into the markup comments for that entire set.
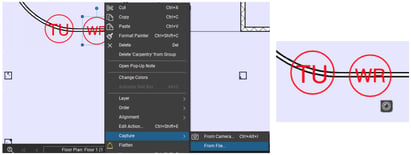
Once a markup is applied you can add additional context into the issue with an image. Right-click the mark-up and go to capture from the drop-down.
From Camera – allows you to take a picture with your device’s built in camera.
From File – choose an image already saved to your device.
Once the image in embedded, a camera icon will appear next to the markup.
View our “Streamlining Your Punch Process with Revu” webinar >
Try Revu® as your punch list solution today. Download your free, 30-day trial here.

Alex Arriaga is a Bluebeam Design Technology Specialist at MG AEC Technology Partners. Alex is a Bluebeam Certified Instructor, Bluebeam Certified Support Representative and a member of the Denver Bluebeam User Group. He works with organizations and individuals in furthering their workflows with and knowledge of Bluebeam Revu.

Bluebeam Revu and Revu are registered trademarks of Bluebeam, Inc., used under license.